Most designers treat QR codes as an afterthought—just a quick, low-res PNG dropped into the corner of a layout right before exporting the final PDF. But physical ink doesn't behave like screen pixels, and relying on web-resolution raster files for physical print is a recipe for a failed scan.
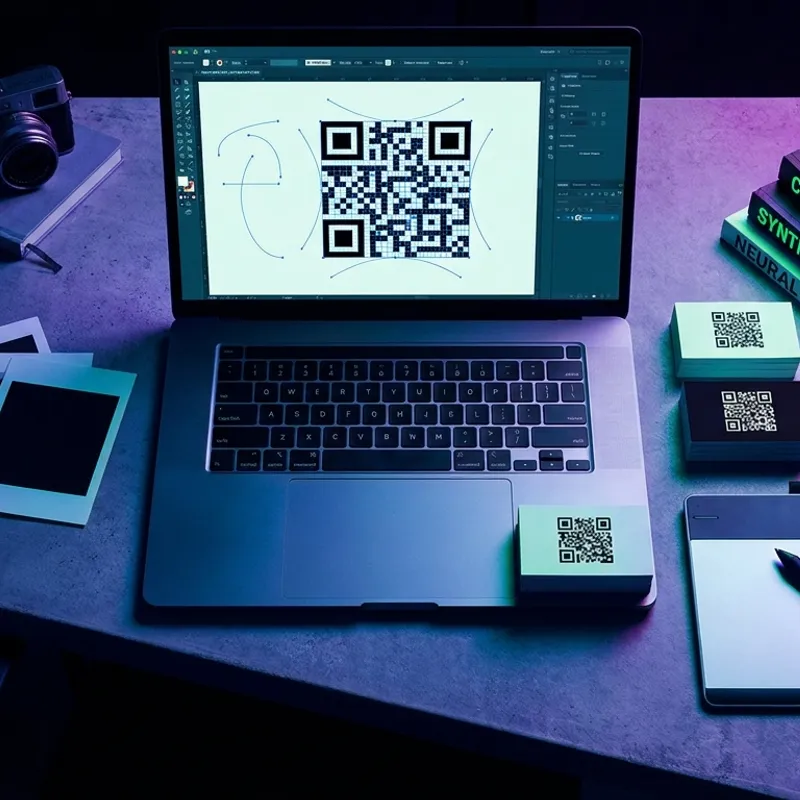
If you are preparing files for a press, package run, or large-scale banner, you need to understand how rasterization and dot gain corrupt digital grids, and why vector paths are mandatory.
The Physics of Blurry Edges: Rasterization vs. Contrast
When you export a standard QR code as a PNG or JPEG, you are working with a fixed grid of pixels.
If you drop a 300×300 pixel PNG into Adobe Illustrator or InDesign and scale it up to fit a physical layout, your design software uses interpolation to stretch the image. To fill the new space, the software adds blurry, anti-aliased gray pixels along the borders of the black blocks.
To a smartphone camera, a QR code is not an image; it is a high-contrast binary reading grid. The camera sensor needs to distinguish absolute dark from absolute light. If the transition between blocks is a fuzzy gradient of gray pixels rather than a hard, sharp edge, the scanner’s contrast threshold fails, and the camera times out.
Pre-Press Realities: Dot Gain and Ink Bleed
Paper is porous, and physical ink spreads. In pre-press, this is known as dot gain or ink bleed.
If you feed a printing press a rasterized QR code with blurry, interpolated edges:
- The blurry gray pixels absorb ink and darken, artificially enlarging the black blocks.
- The wet ink spreads into the white gaps (quiet zones), closing up the vital spacing.
If those white gaps shrink even slightly, the data matrix becomes unreadable. The only way to combat dot gain is to provide the press with absolute, mathematically defined vector paths.
The Fix: Scalable Vector Graphics (SVG)
Vector graphics do not use pixels. Instead, they use mathematical coordinate paths (lines, anchors, and curves) to render shapes.
When you scale an SVG, the mathematical path recalculates. Whether printed on a tiny business card or stretched across a massive billboard, the edges remain razor-sharp, with zero anti-aliasing or gray pixels. The RIP (Raster Image Processor) software at the print shop interprets vector paths as absolute on/off switches for ink placement, preventing dot gain from ruining the scan.
Pre-Flight Checklist for Scannable QR Codes
To ensure your physical prints scan reliably, apply these pre-flight rules:
- Generate True SVG Paths: Do not use converters that wrap a raster PNG inside an SVG file. Use a generator that outputs pure, native paths. You can generate clean vector SVGs for free using EZ QR Generator.
- Shorten Your URL: The longer the URL, the denser the QR code's matrix grid becomes. A dense grid means smaller physical blocks, which are much more vulnerable to ink bleed. Keep the target link as short as possible to maintain a wide, safe grid pattern.
- Maintain the Quiet Zone: A QR code requires an uninterrupted border of white space around its outer edge (roughly equivalent to four blocks wide). Do not place text, borders, or backgrounds near this margin, or phone cameras will fail to isolate the code.
- Keep Contrast High: Dark foreground on a light background is standard. Light QR codes on dark backgrounds (reversed printing) often fail under low-light conditions because phone cameras struggle to focus on inverted matrices.